How To Flush a Water Heater in 8 Easy Steps
10/11/2018 (Permalink)
Whether you are cooking, cleaning, or taking a bath, you need a functioning water heater. Water heaters are useful in so many ways, but they require some attention on your part to stay working for a long time. To avoid water damage, broken parts, and hot water shortage, here are 8 steps you can follow to flush out the heater.
1. Shut Off the Power
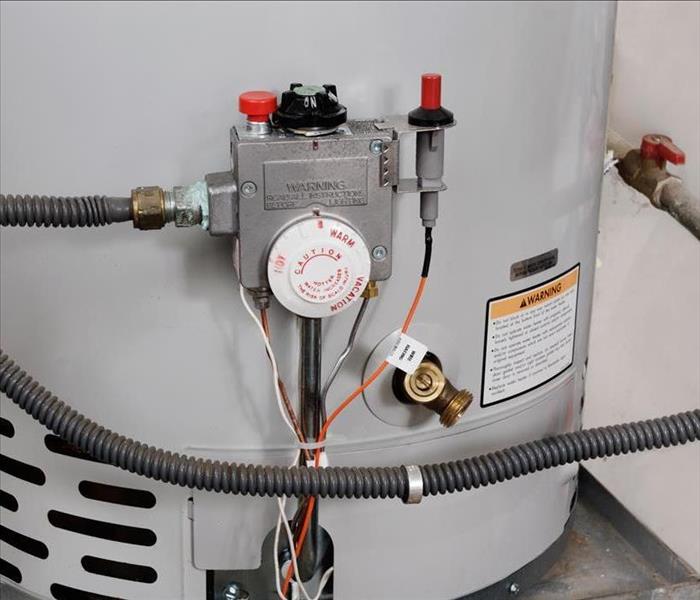
You’ll need to turn the power off completely to begin the flushing process. If your home in Levittown,PA, has a gas heater, look for the thermostat on the bottom. If the fixture is electric, go to the breaker box and turn off the switch.
2. Turn Off the Water Supply
Next, turn off the cold-water valve. This will allow a smooth process.
3. Run Hot Water From a Nearby Faucet
You don’t want to create a vacuum within the tank, so this is an easy way to relieve the water pressure.
4. Screw On the Garden Hose
You’ll be draining the water, so find a hose that you can attach to the spigot. Find a place to distribute the water. You may need a portable pump so that you don’t cause any water damage within your home.
5. Drain the Tank
Drain the water until most of the sediment appears to have escaped the tank. You may have to drain the entire water heater.
6. Reopen the Cold-Water Supply Valve
This is the step that flushes the tank. Let the cold water run through the tank into the hose for a few minutes.
7. Close the Drain Valve
Close off the valve and disconnect your garden hose. Double check that the pressure relief valve is closed.
8. Fill the Tank and Power Up
Turn off the faucet from a nearby sink and fill up the tank. Once it is filled, open the pressure relief valve and turn the electricity or gas back on.
A water heater flush is needed periodically to remove sediment build-up and prevent a premature breakdown. Keep your water heaters in top shape to avoid problems in the future.


 24/7 Emergency Service
